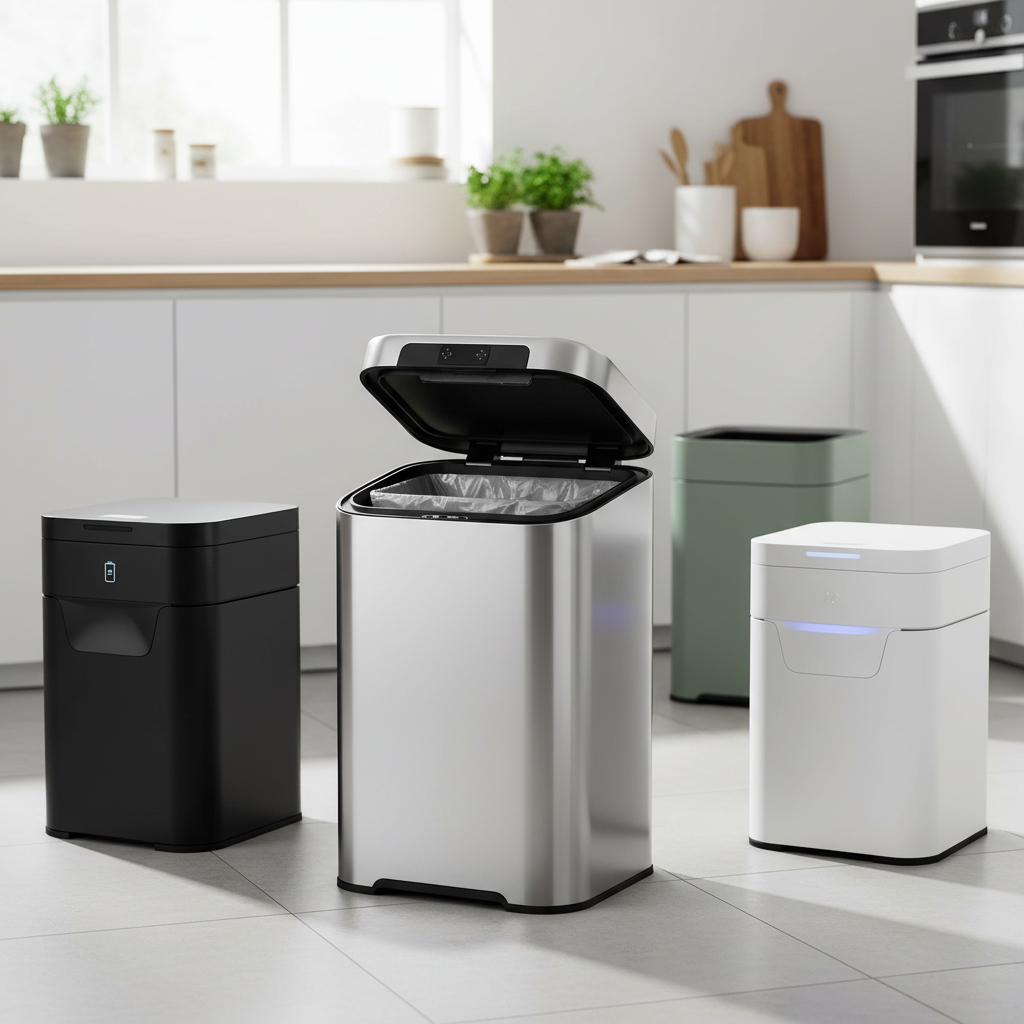
A smart trash can offers unparalleled convenience, effortlessly opening its lid with a wave of your hand or a gentle tap. It’s a small luxury that makes daily chores a little cleaner and easier. However, when the sensor stops responding, the lid jams, or it starts opening spontaneously, this modern convenience can quickly become a frustrating impediment. Don’t toss your smart bin just yet! Many common sensor issues can be resolved with simple DIY fixes. This guide will walk you through diagnosing and repairing your smart trash can’s sensor, helping you restore its seamless operation.
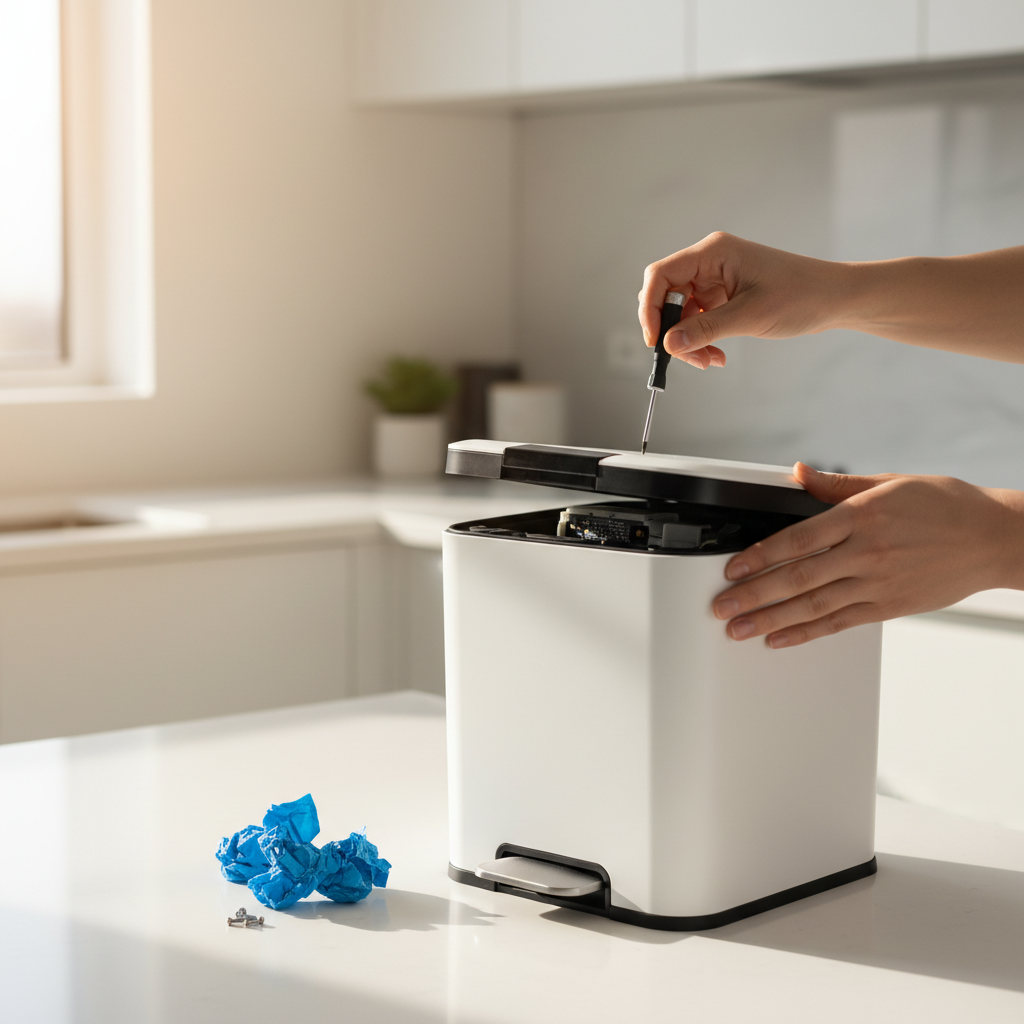
Understanding Your Smart Trash Can Sensor
Smart trash cans primarily use infrared (IR) sensors to detect motion, allowing the lid to open automatically. This technology emits an infrared beam, and when an object (like your hand) breaks or reflects that beam, the sensor triggers the lid mechanism. These sensors are designed for reliability, but like any electronic component in a busy household, they are susceptible to various issues.
Common reasons why a sensor might malfunction include low battery power, accumulation of dirt or debris obstructing the sensor’s view, environmental interference from light or other objects, or even mechanical problems with the lid itself. Understanding these potential culprits is the first step toward a successful DIY repair.
Initial Troubleshooting Steps: The Basics
Before delving into more complex fixes, it’s essential to cover the most common and easiest troubleshooting steps. Often, the solution is simpler than you think.
Power Check: Batteries and Adapters
One of the most frequent causes of a seemingly “broken” sensor is simply inadequate power.
If your smart trash can’s lid is unresponsive, moves sluggishly, or its indicator lights are flickering or off, it’s a strong sign that the power source is the problem. Most smart trash cans run on AA batteries, while some use rechargeable packs or AC adapters.
- For battery-powered units: Replace all existing batteries with fresh, high-quality ones. Ensure they are inserted correctly according to the polarity markings. Even if batteries aren’t completely dead, weak power can impair sensor performance.
- For rechargeable units: Ensure the unit is fully charged. Connect it to its charger and allow ample time for a full charge cycle.
- For AC adapter units: Check that the adapter is securely plugged into both the trash can and a working wall outlet. Try a different outlet if unsure.
“Always start with the power source. It’s surprising how many ‘broken’ gadgets just need new batteries or a proper charge.” – Tech Repair Specialist, Home Automation Solutions
|
Our Picks for the Best Smart trash can in 2026
As an Amazon Associate I earn from qualifying purchases.
|
||
| Num | Product | Action |
|---|---|---|
| 1 | EKO Deluxe Mirage-T 50 Liter / 13.2 Gallon Touchless Rectangular Motion Sensor Trash Can, Matte Stainless Steel Finish |

|
| 2 | EKO Mirage-T 50 Liter / 13.2 Gallon Touchless Rectangular Motion Sensor Trash Can, Brushed Stainless Steel Finish (Matte Black) |
|
| 3 | Ninestars 13 Gallon Oval Automatic Trash Can, 50L Touchless Motion Sensor Garbage Can with Odor-Sealing Lid & One-Touch Manual Mode, Silver Stainless Steel, Black Trim |
|
| 4 | EKO Mirage-T 50 Liter / 13.2 Gallon Touchless Rectangular Motion Sensor Trash Can, Brushed Stainless Steel Finish |
|
| 5 | iTouchless 24 Gallon Extra Large Touchless Sensor Trash Can with AbsorbX Odor Filter, 91L Commercial Stainless Steel Automatic Kitchen Bin for Home, Office, Restaurant, Commercial Lobby, Store |
|
| 6 | BestOffice | 13 Gallon Trash Can with Lid | Automatic Touchless Garbage Can | Odor Control | Modern Oval Design | Easy to Clean | Stainless Steel | Fits Any Kitchen, Bathroom, Office or Home |
|
| 7 | Ninestars 13 Gallon Automatic Trash Can, 50L Touchless Motion Sensor Garbage Can with Odor-Sealing Lid, Rectangular Stainless Steel, Silver Trim |
|
| 8 | Vanpopubs 2 Pack 2.7 Gal Bathroom Trash Can with Lid, Automatic Trash Can Small Smart Garbage Can Touchless, Slim Motion Sensor Waterproof Plastic Trash Bins for Bedroom Office Kitchen Toilet |
|
| 9 | Ninestars 13 Gallon Odor Neutralizing Smart Trash Can, UV + Ozone Dual Purification, Odor Control Motion Sensor Garbage Bin, Universal Power Adapter, ONT-50-81SL Stainless Steel, Silver, Nova Series |
|
| 10 | Bathroom Trash Can with Lid, KOEYLE 2 Pack 2.2 Gallon Automatic Touchless Garbage Can, Small Motion Sensor Smart Trash Can, Slim Waterproof Trash Bin for Bedroom, Bathroom, Office, Living Room (Black) |
|
The Importance of a Clean Sensor
Dust, grime, food particles, and even moisture can accumulate on the sensor lens, impeding its ability to detect motion accurately. Some units may even have a clear protective seal that was never fully removed.
- Inspection: Carefully examine the sensor area, typically located on the lid’s front or top. Look for any visible dirt, smudges, or films.
- Cleaning: Use a soft, dry microfiber cloth to gently wipe the sensor. If there’s stubborn grime, lightly dampen the cloth with water or a mild, non-abrasive cleaner (some suggest a small amount of rubbing alcohol on a cotton swab, but be gentle to avoid scratching or damaging the infrared area). Ensure the sensor is completely dry before re-testing. Do not use harsh chemicals or abrasive materials.
- Protective Film: If you see a thin, clear sticker over the sensor, carefully peel it off. This film is often for shipping protection and can interfere with functionality if left on.
Environmental Factors and Placement
The environment surrounding your smart trash can can significantly impact its sensor performance.
- Light Interference: Direct sunlight or strong artificial lighting can confuse infrared sensors, leading to erratic behavior like the lid opening unexpectedly (often called “ghosting”) or failing to open at all. Try moving your trash can to a location with more subdued lighting.
- Obstructions: Objects placed too close to the sensor area, such as walls, cabinets, or even a countertop overhang, can trigger the sensor or block its field of view. Ensure there’s adequate clearance (typically 10-12 inches or 25-30 cm) around and above the sensor. Overfilled trash bags can also interfere with lid operation.
Resetting Your Smart Trash Can Sensor
When basic checks don’t resolve the issue, a system reset can often clear internal glitches and recalibrate the sensor.
The Power Cycle Reset
This is a common troubleshooting step for many electronic devices.
- Turn Off: Locate the power switch on your trash can (usually on the back or bottom of the lid) and turn it off.
- Remove Power: If battery-powered, remove all batteries. If using an AC adapter, unplug it from both the wall and the trash can. Note: Avoid using batteries and an AC adapter simultaneously, as this can overheat the unit.
- Wait: Allow the unit to sit powered off and unplugged/without batteries for at least 3 hours. This allows any residual power to drain and the sensor to fully dry if moisture was an issue.
- Reconnect Power: Reinsert fresh batteries or plug the AC adapter back in. Turn the trash can back on.
- Manual Cycle: Manually open and close the lid 10-15 times at a semi-slow speed. This can help reset the mechanical components and calibrate the sensor’s movement.
Locating and Using the Reset Button
Some smart trash cans may feature a dedicated reset button, often a small, recessed button near the battery compartment or control panel.
- Consult Manual: Refer to your trash can’s user manual to locate a specific reset button and instructions.
- Press and Hold: If found, press and hold the reset button for a few seconds (e.g., 3-5 seconds). This action typically recalibrates the system and restores default functionality.
Addressing Mechanical and Physical Issues
Sometimes the sensor itself is fine, but the physical components of the lid are at fault.
Clearing Obstructions Around the Lid
Even a functioning sensor can’t open a lid that’s physically blocked.
- Hinges and Tracks: Inspect the lid’s hinges and any tracks or guides it slides along. Food particles, sticky residue, or even a stray piece of trash can bind the mechanism.
- Debris Removal: Gently remove any debris using a damp cloth or cotton swab. For tracks, you might apply a small amount of silicone lubricant to ensure smooth movement.
- Bent Components: Carefully check if any parts of the lid or its tracks appear bent or damaged. If so, gentle manipulation might fix minor deformities, but be cautious not to break plastic components.
Checking for Moisture or Damaged Stickers
If your trash can lid opens and closes randomly (“ghosting”), it could be due to moisture or dirt trapped under a protective sticker over the sensor.
- Inspect Sticker: Some models have a thin, often oval-shaped sticker directly over the infrared sensor buttons. Moisture or grime can get underneath this, leading to false readings.
- Gentle Cleaning: Carefully lift the edge of the sticker (if removable) and clean any accumulated dirt or moisture underneath with a cotton swab. Be extremely gentle, as rubbing alcohol might remove any red dye from the infrared area, though this typically doesn’t affect functionality. Let it dry completely before carefully repositioning the sticker.
When to Consider Advanced DIY or Professional Help
If you’ve tried all the basic and intermediate DIY fixes and your smart trash can sensor is still misbehaving, it might be time for more advanced steps or professional intervention.
- Internal Damage: Persistent issues could indicate a faulty sensor module, damaged wiring, or a motor problem. This often requires opening the lid assembly, which can be complex and may void your warranty.
- Consult Manual/Manufacturer: Always refer to your trash can’s user manual for model-specific troubleshooting. If under warranty, contact the manufacturer’s customer support for guidance or potential repair/replacement.
- Sensor Replacement: While possible for advanced DIYers, replacing the sensor module involves soldering and specific electronic knowledge. It’s often more cost-effective to consider a new lid or a new unit if the trash can is older and outside of warranty.
Preventative Maintenance for a Healthy Sensor
Prevention is always better than cure. A few simple habits can extend the life and reliability of your smart trash can’s sensor.
- Regular Cleaning: Make it a habit to wipe down the sensor area weekly with a soft, dry cloth.
- Optimal Placement: Ensure your trash can is always positioned away from direct sunlight, strong lights, and any immediate obstructions.
- Timely Battery Replacement: Don’t wait for the sensor to fail. Replace batteries proactively every 6-12 months for alkaline batteries or keep rechargeable units topped up.
- Avoid Overfilling: Prevent trash bags from bulging too high, which can interfere with the lid’s closing mechanism.
Conclusion
A malfunctioning sensor on your smart trash can doesn’t have to mean the end of its useful life. By systematically checking the power, cleaning the sensor, performing a reset, and addressing any physical obstructions, you can often bring your smart bin back to life. These DIY troubleshooting steps empower you to handle common issues, saving you money and the hassle of replacement. Regular maintenance and mindful placement will keep your sensor operating smoothly, ensuring your kitchen or office remains a hands-free, hygienic zone. Which of these fixes will you try first to get your smart trash can back on track?
Frequently Asked Questions
Why does my sensor trash can open by itself?
A sensor trash can opening by itself, often called “ghosting,” is typically caused by environmental interference like direct sunlight, strong artificial lights, or reflective surfaces too close to the sensor. It can also be due to dirt or moisture accumulating on or under the sensor lens, causing false readings.
How often should I change the batteries in my smart trash can?
For most battery-operated smart trash cans, alkaline batteries usually last between 6 to 12 months, depending on usage frequency. Rechargeable units should be charged regularly as indicated by battery indicators or when performance begins to decline.
Can sunlight affect a trash can sensor?
Yes, direct sunlight can significantly affect a smart trash can’s infrared sensor. Strong sunlight can interfere with the sensor’s ability to detect motion accurately, leading to the lid opening randomly or failing to respond when needed. It’s best to place the trash can away from direct sun exposure.
What’s the best way to clean a sensor?
To clean a smart trash can sensor, use a soft, dry microfiber cloth to gently wipe the sensor lens. For more stubborn dirt or grime, lightly dampen the cloth with water or a small amount of rubbing alcohol. Avoid harsh chemicals, abrasive materials, or excessive moisture, which can damage the sensor.
Is it worth repairing a smart trash can sensor, or should I replace the bin?
For common issues like low batteries, dirty sensors, or environmental interference, a DIY repair is usually worthwhile and cost-effective. However, if the issue stems from internal mechanical failure, motor damage, or complex circuit board problems, and your unit is out of warranty, purchasing a new lid or an entirely new smart trash can might be a more practical and economical solution.