Imagine a world where your trash can opens with a simple command, eliminating the need to touch a potentially messy lid. This isn’t a futuristic dream but a tangible reality you can build yourself. Crafting a voice-controlled trash can using Arduino is an exciting project that blends convenience, hygiene, and the thrill of smart home technology. It’s an excellent way to dive into electronics and programming, giving you a functional and impressive gadget for your home. This comprehensive guide will walk you through everything, from gathering components to coding and troubleshooting, empowering you to create your own intelligent waste solution.
Understanding Voice Control Smart Trash Cans
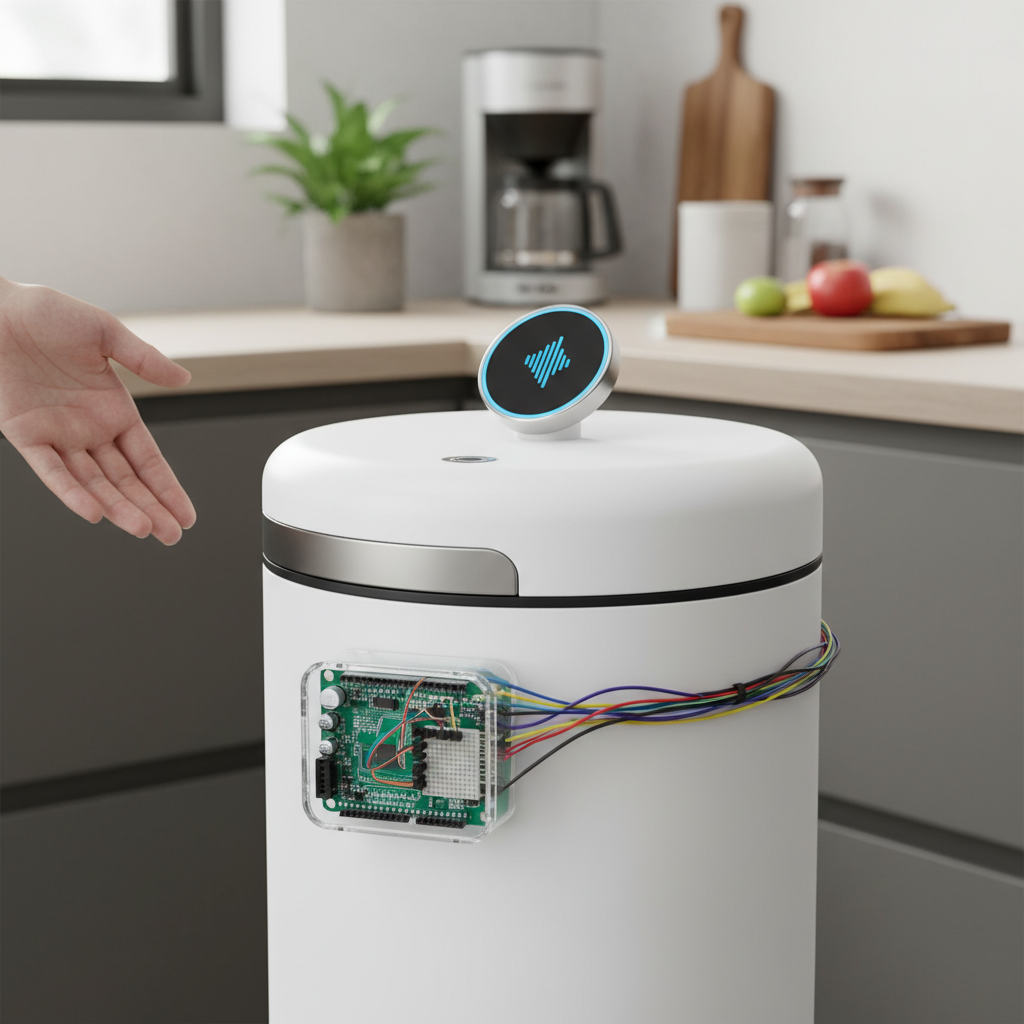
A voice control smart trash can elevates a mundane household item into a responsive, interactive device. At its core, it’s a regular trash bin enhanced with a microcontroller, sensors, and an actuator that responds to spoken commands. Instead of relying solely on proximity sensors to open, this version incorporates a voice recognition system, usually mediated by a smartphone app.
The benefits extend beyond mere novelty. It offers hands-free operation, which is a significant hygiene advantage, especially when your hands are full or dirty. It brings a touch of modern automation to your living space and serves as an engaging project for learning about embedded systems, programming, and connectivity. High-level operation involves your voice command being processed by a smartphone app (converting speech to text), which then sends a corresponding signal via Bluetooth to your Arduino. The Arduino, in turn, activates a servo motor to open or close the lid.
Essential Components for Your Arduino Smart Bin
Building your voice-activated trash can requires a few key electronic components, alongside a standard trash bin. Here’s a breakdown of what you’ll need:
The Brain: Arduino Uno (or compatible board)
|
Our Picks for the Best Smart trash can in 2026
As an Amazon Associate I earn from qualifying purchases.
|
||
| Num | Product | Action |
|---|---|---|
| 1 | iTouchless 24 Gallon Extra Large Touchless Sensor Trash Can with AbsorbX Odor Filter, 91L Commercial Stainless Steel Automatic Kitchen Bin for Home, Office, Restaurant, Commercial Lobby, Store |

|
| 2 | EKO Mirage-T 50 Liter / 13.2 Gallon Touchless Rectangular Motion Sensor Trash Can, Brushed Stainless Steel Finish |
|
| 3 | Bathroom Trash Can with Lid, KOEYLE 2 Pack 2.2 Gallon Automatic Touchless Garbage Can, Small Motion Sensor Smart Trash Can, Slim Waterproof Trash Bin for Bedroom, Bathroom, Office, Living Room (Black) |
|
| 4 | Vanpopubs 2 Pack 2.7 Gal Bathroom Trash Can with Lid, Automatic Trash Can Small Smart Garbage Can Touchless, Slim Motion Sensor Waterproof Plastic Trash Bins for Bedroom Office Kitchen Toilet |
|
| 5 | EKO Deluxe Mirage-T 50 Liter / 13.2 Gallon Touchless Rectangular Motion Sensor Trash Can, Matte Stainless Steel Finish |
|
| 6 | BestOffice | 13 Gallon Trash Can with Lid | Automatic Touchless Garbage Can | Odor Control | Modern Oval Design | Easy to Clean | Stainless Steel | Fits Any Kitchen, Bathroom, Office or Home |
|
| 7 | Ninestars 13 Gallon Odor Neutralizing Smart Trash Can, UV + Ozone Dual Purification, Odor Control Motion Sensor Garbage Bin, Universal Power Adapter, ONT-50-81SL Stainless Steel, Silver, Nova Series |
|
| 8 | Ninestars 13 Gallon Automatic Trash Can, 50L Touchless Motion Sensor Garbage Can with Odor-Sealing Lid, Rectangular Stainless Steel, Silver Trim |
|
| 9 | EKO Mirage-T 50 Liter / 13.2 Gallon Touchless Rectangular Motion Sensor Trash Can, Brushed Stainless Steel Finish (Matte Black) |
|
| 10 | Ninestars 13 Gallon Oval Automatic Trash Can, 50L Touchless Motion Sensor Garbage Can with Odor-Sealing Lid & One-Touch Manual Mode, Silver Stainless Steel, Black Trim |
|
The Arduino Uno is a popular microcontroller board, serving as the central processing unit for your smart trash can. It interprets commands and controls the attached components. Its ease of use and vast community support make it ideal for DIY projects.
The Voice Link: HC-05 Bluetooth Module
This module is crucial for wireless communication between your smartphone and the Arduino. It allows your Arduino to receive text-based commands that your phone has converted from your spoken words.
The Mover: Servo Motor
A servo motor is responsible for the physical opening and closing of the trash can lid. For most standard lids, a small SG90 micro servo might suffice, but for heavier or larger lids, an MG996R or similar standard servo offers more torque and reliability.
The Eyes: Ultrasonic Sensor (HC-SR04)
While optional for pure voice control, an HC-SR04 ultrasonic sensor can add an extra layer of “smart” functionality. It can detect objects (like a hand approaching) for automatic lid opening, or even measure the fill level of the trash can, making your bin truly intelligent.
The Foundation: A Trash Can, Breadboard, Jumper Wires, Power Supply
You’ll need a physical trash can, ideally one with a lid that can be easily modified to attach a servo. A breadboard helps organize your circuit connections, while jumper wires are essential for connecting all the components to the Arduino. For power, a 9V battery with a connector or a 5V wall adapter (for the Arduino) will suffice. The servo will typically need its own stable 5V power source.
The Interface: Android Smartphone with a compatible Bluetooth terminal/voice control app
Your smartphone acts as the user interface. You’ll need an Android app that can capture your voice, convert it into text (using built-in speech-to-text), and then transmit a predefined command (like a single character or a specific string) via Bluetooth to the HC-05 module.
Step-by-Step Hardware Assembly
Bringing your voice-controlled trash can to life begins with careful hardware assembly.
Preparing Your Trash Can for Automation
Start by modifying your trash can lid to accommodate the servo motor. This usually involves attaching the servo to the back or side of the bin, with its arm connected to the lid using a sturdy linkage (e.g., a small rod, strong wire, or a custom 3D-printed part). Ensure the servo has enough leverage to smoothly open and close the lid without strain.
Wiring the Servo Motor to Arduino
The servo motor typically has three wires: power (red), ground (brown/black), and signal (orange/yellow).
- Connect the power (red) wire to the Arduino’s 5V pin (or a separate 5V power supply).
- Connect the ground (brown/black) wire to the Arduino’s GND pin (and the ground of your separate power supply, if used).
- Connect the signal (orange/yellow) wire to a PWM-capable digital pin on the Arduino (e.g., pin 9).
Connecting the HC-05 Bluetooth Module
The HC-05 module has several pins, but you’ll primarily use VCC, GND, TX, and RX.
- Connect VCC of HC-05 to Arduino’s 5V.
- Connect GND of HC-05 to Arduino’s GND.
- Connect TX (Transmit) of HC-05 to RX (Receive) of Arduino (e.g., Digital Pin 10 if using SoftwareSerial).
- Connect RX (Receive) of HC-05 to TX (Transmit) of Arduino (e.g., Digital Pin 11 if using SoftwareSerial).
- Note: The Arduino’s hardware TX/RX (pins 1 and 0) are used for uploading code and serial monitor, so it’s common practice to use SoftwareSerial on other digital pins (e.g., 10 and 11) for the Bluetooth module to avoid conflicts. Remember to connect the RX pin of the HC-05 to the TX pin of the Arduino through a voltage divider if your HC-05 is 5V tolerant but your Arduino’s TX pin operates at 3.3V, or if the HC-05 expects 3.3V logic. Most common HC-05 breakout boards are 5V tolerant for RX, so a direct connection is often fine.
Integrating the Ultrasonic Sensor (if applicable)
The HC-SR04 ultrasonic sensor has four pins: VCC, GND, Trig, and Echo.
- Connect VCC to Arduino’s 5V.
- Connect GND to Arduino’s GND.
- Connect Trig to a digital pin on Arduino (e.g., pin 5).
- Connect Echo to another digital pin on Arduino (e.g., pin 6).
Powering Your Circuit
Ensure all components receive adequate power. The Arduino Uno can be powered via its USB port (connected to a computer or USB wall adapter) or through its DC barrel jack (7-12V power supply). If using a servo that draws significant current, it’s best to power it directly from a separate 5V power supply rather than solely from the Arduino’s 5V pin, sharing a common ground with the Arduino.
Arduino Code: Making Your Trash Can Listen
The heart of your voice-controlled trash can lies in its Arduino code. This program will enable the Arduino to communicate with the Bluetooth module, interpret commands, and control the servo.
Setting Up Your Arduino IDE and Libraries
First, download and install the Arduino IDE. You’ll likely need the Servo.h library (usually pre-installed) for controlling the servo and SoftwareSerial.h (also often pre-installed) for communicating with the HC-05 Bluetooth module on digital pins.
Initializing Components and Serial Communication
Your code will begin by including these libraries and defining the pins for your servo, ultrasonic sensor (if used), and Bluetooth module. You’ll set up a SoftwareSerial object for Bluetooth communication. In the setup() function, initialize the servo, serial communication for debugging, and the SoftwareSerial for the Bluetooth module.
Receiving Commands via Bluetooth
In the loop() function, continuously check if data is available from the Bluetooth module using bluetoothSerial.available(). If data is present, read the incoming character or string.
Implementing Voice Command Logic
Based on the received command, the Arduino will trigger specific actions. For example: